
Nail Growth Oil DIY: Easy Recipes for Strong Nails
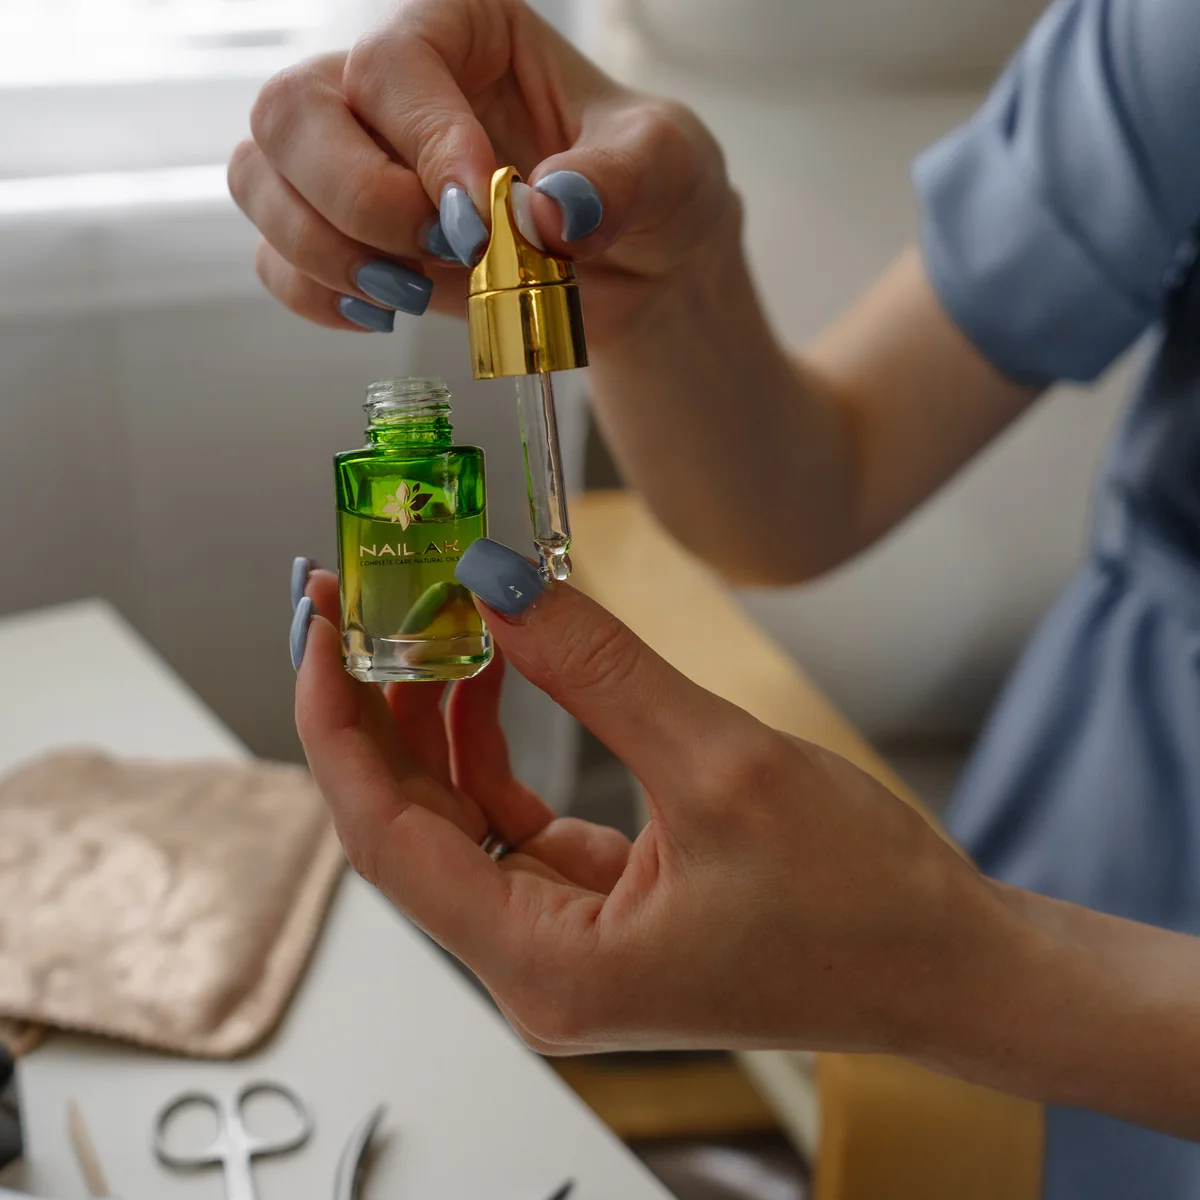
Saturday morning light spilled across the kitchen table, turning the glass dropper bottles into tiny suns. My coffee was still warm, and an old hand towel protected the wood from the inevitable drips of jojoba and almond oil. I’d been staring at my ragged cuticles for a week—typing, washing dishes, peeling stickers off a gift—and somewhere in the bustle, my nails had surrendered. They were thin at the edges, splitting in quiet protest. So I decided to make a small promise to myself: slow down, mix a nail growth oil DIY blend, and touch my hands with the kind of care I give everyone else.
The bottles clicked together as I moved, a gentle reminder that self-care doesn’t have to be dramatic to be effective. There’s comfort in the ritual: measuring two teaspoons of carrier oils, adding three careful drops of vitamin E, rolling the bottle between palms to warm it. The scent of lavender softened the air, and my shoulders dropped. It felt like a homecoming, almost. Thirty seconds of massaging each nail bed, watching the dullness lift into a soft sheen. You can almost feel the smoothness return as the oil sinks in, like thirsty wood rehydrating after a dry winter.
Let’s be honest: we often wait for a nail emergency to start caring. A snag on a sweater. A manicure that chips after just two days. A goal to grow your nails long enough to tap on your water bottle with a satisfying click. But growth is a habit, not an event. A drop of oil, applied consistently, can change everything. Not overnight. Not in a neat before-and-after photo. But week by week, with fewer snags and stronger tips, you start to see the results.
The best part? Nail growth oil DIY is customizable. You can choose a light, fast-absorbing blend for daytime and a richer, sealing blend at night. You can keep it unscented if you’re sensitive, or invite a whisper of rosemary to encourage circulation. The goal isn’t perfection. It’s progress, paired with a kinder routine. And when you see your hands looking healthy—cuticles supple, nails less brittle—confidence follows in the smallest, everyday ways.
Quick Summary: A simple, consistent nail growth oil DIY—made with smart carriers, gentle actives, and a five-minute ritual—can help you grow stronger, smoother nails without fuss.
Why nails stall—and how to help
Nails grow from the matrix, a tiny factory under the cuticle. It needs hydration, nutrients, and protection. When nails keep breaking, it’s usually because they’re drying out, bending beyond their strength, or getting stripped by harsh removers.
What helps:
- Hydration and sealing: Oils mimic skin’s natural lipids and slow water loss.
- Gentle habits: Filing in one direction and wearing gloves for chores.
- Consistency: Small daily moves matter more than occasional big ones.
Nail growth oil DIY supports the cuticle and nail plate. It cushions everyday friction, reduces peeling, and keeps the nail flexible. Flexible nails are resilient nails. Think less snapping, more bending and bouncing back.
If you love gels or acrylics, oil is still your friend. It helps the skin and natural nail stay balanced between appointments. Just avoid oil before polish application to prevent lifting. Clean the nail with alcohol right before painting.
Nail growth oil DIY basics
Great blends start with the right base. Carriers do the heavy lifting; essential oils are optional accents.
Best carrier oils:
- Jojoba oil: Closest to skin’s sebum; fast-absorbing and balancing.
- Sweet almond oil: Cushiony moisture; rich in vitamin E and fatty acids.
- Grapeseed oil: Lightweight; ideal for daytime or humid climates.
- Castor oil: Thick and sealing; perfect for edges prone to splitting.
- Fractionated coconut or squalane: Light slip, non-greasy feel.
Helpful add-ins:
- Vitamin E (tocopherol): Antioxidant that supports barrier function. Think 0.5–1%.
- Evening primrose or rosehip: Optional; gentle support for dry cuticles.
Optional essential oils (very low concentration):
- Lavender: Soothing. Calms irritated skin around nails.
- Rosemary: Invigorating. Pairs well with massage to encourage local circulation.
- Tea tree: For those who need extra clarity around the nail folds.
Safety notes:
- Keep essential oils under 1% total for leave-on formulas.
- Patch test on the inner arm or a single nail fold for 24 hours.
- Skip lemon essential oil if you’ll be in direct sun; it can be phototoxic unless steam-distilled.
- Pregnant or nursing? Most will prefer unscented carrier blends. When in doubt, consult a professional.
Build your perfect blend
Here are three simple formulas sized for a 10 ml roller bottle (about 2 teaspoons). You can also use a clean dropper bottle.
H3: Strength & Seal (night routine)
- Jojoba oil: 6 ml
- Sweet almond oil: 3 ml
- Castor oil: 1 ml
- Vitamin E: 3–4 drops
- Optional: 1 drop rosemary + 1 drop lavender (total essential oils under 1%)
Why it works: Jojoba and almond replenish; castor creates a soft barrier that hugs the nail edge.
H3: Growth & Glow (day-to-night)
- Grapeseed oil: 7 ml
- Jojoba oil: 2 ml
- Castor oil: 1 ml
- Vitamin E: 3 drops
- Optional: 2 drops lavender (or 1 drop rosemary if tolerated)
Why it works: Lightweight grip with a hint of seal. It absorbs fast, so you can type right after.
H3: Sensitive & Simple (ultra-gentle)
- Jojoba oil: 9.7 ml
- Vitamin E: 3 drops
- No essential oils
Why it works: Elegant minimalism. This is perfect for reactive skin or fragrance-free days.
Mixing tips:
- Work clean. Wash hands, wipe tools with alcohol, use dry containers.
- Label the bottle with the date and formula.
- Store away from heat and sunlight; use within 3–6 months for freshness.
How to use it for real results
Here’s the secret: results hinge on repetition. A little oil, every day, beats a complicated routine once a week.
Daily routine (2–3 minutes):
- Wash hands and pat dry.
- Roll or drop a small amount around each nail and cuticle.
- Massage each nail for 30–60 seconds. Focus on the moon (lunula) and sidewalls.
- Let it sink in for two minutes before touching paper or fabric.
Weekly ritual (10 minutes):
- After a shower, push back cuticles gently with a soft cloth.
- File nails in one direction at a 45-degree angle. Skip see-saw motions.
- Apply your nail growth oil DIY generously and massage.
- Seal with a gentle hand cream.
Polish lovers:
- Oil helps between manicures, not right before. Wipe nails with alcohol before base coat.
- With gel, oil the cuticles daily to reduce lifting and dryness.
Three actionable micro-habits:
- Keep a mini roller at your desk and oil after lunch.
- Oil after every hand wash during dry months.
- Set a phone reminder for a two-minute massage at night.
A minimalist note in beauty
Minimalism is having a moment, even beyond skincare and nails. One bridal trend maps perfectly to your nail routine: when you simplify, the essentials shine—shape, texture, and fit in a dress mirror the clean lines of a pared-back nail oil formula. Less fuss, more intention. It’s a helpful reminder that restraint often delivers the most polished result. (source: https://www.gemmaetc.com/2026/01/how-to-find-the-perfect-minimalist-wedding-dress.html)
Smart lifestyle boosters
Nails are keratin. They need building blocks from the inside and protection from the outside.
Food-first support:
- Protein in every meal: eggs, tofu, Greek yogurt, beans, fish.
- Biotin-rich foods: eggs, sunflower seeds, sweet potatoes.
- Minerals that matter: iron from leafy greens and lentils; zinc from pumpkin seeds.
- Hydration: aim for steady water intake throughout the day.
Gentle protection:
- Wear gloves for dishes and cleaning.
- Keep a soft file in your bag; smooth snags immediately.
- Use a base coat with your polish to prevent staining and peeling.
- Choose non-acetone remover for routine changes; save acetone for gels only.
Salon strategy:
- Space out gel or acrylic appointments when you can.
- Ask for careful removal—no forceful scraping.
- Continue your nail growth oil DIY nightly to maintain flexibility.
Mindful movement:
- Treat nails like jewelry, not tools.
- Open cans with a spoon, not your thumbnail.
- Type with the pads of fingers, not the tips of nails.
Troubleshooting and safety
Peeling tips:
- Cause: water cycling—wet, dry, wet—weakens layers.
- Fix: file peeling edges smooth, then oil. Wear gloves for long water exposure.
Yellowing:
- Cause: pigments or skipping base coat.
- Fix: use base coat. Take polish breaks. Gentle buffing and oil restore clarity over time.
Vertical ridges:
- Common with age and dehydration.
- Fix: light ridge-filling base coat, mindful oiling, and a soft buffer. Don’t over-buff.
Hangnails:
- Cause: dryness and friction.
- Fix: never rip. Clip with clean nippers, then oil twice daily for a week.
When to see a pro:
- Persistent discoloration, thickening, pain, or separation from the nail bed.
- Suspected fungal issues need dermatology guidance and targeted care.
Oil hygiene:
- Wipe droppers with alcohol weekly.
- Don’t touch the roller directly to broken skin.
- If redness or itching occurs, stop and reassess. Switch to the Sensitive & Simple blend.
Safe storage:
- Dark glass is best. Keep away from heat, sunlight, and curious pets.
- Most blends stay fresh 3–6 months. If it smells “off,” remix.
Essential oil caution:
- Keep total at or under 1% for leave-on use.
- Some oils can bother pets; minimize diffusion and avoid paw contact.
- If pregnant, nursing, or under medical care, use unscented blends unless cleared by your provider.
A ritual for quiet confidence
There’s a certain grace in caring for small things. The moment you pause at night, roll oil along your cuticles, and feel the warmth of your hands returning to themselves—you’re building more than stronger nails. You’re building a rhythm that respects your pace. Growth isn’t loud. It’s collected in minutes: the gentle file stroke, the soft sheen after massage, the deep breath you didn’t know you needed.
Nail growth oil DIY is practical, yes. But it’s also a reminder that you deserve softness. When your hands look nourished, everyday tasks feel easier. Confidence doesn’t have to announce itself. Sometimes it just glows quietly from your fingertips.
Estimated word count: ~1,980 words
Frequently Asked Questions (FAQ)
Q: How often should I apply my nail growth oil DIY? A: Aim for once daily, preferably at night, with a quick massage. During dry months or if you wash hands often, add a light daytime application. Consistency matters more than quantity.
Q: Which oils are best for brittle, peeling nails? A: Jojoba and sweet almond replenish, while a touch of castor oil seals the edges. If you prefer a lighter feel, try grapeseed by day and a richer blend at night. Always pair oils with gentle filing and glove use for chores.
Q: Can I use essential oils in a nail growth oil DIY? A: Yes, but keep them under 1% total for leave-on use. Lavender or rosemary are popular in tiny amounts. If you’re sensitive, go fragrance-free; an unscented jojoba plus vitamin E blend is effective on its own.
Q: How long until I see results? A: Most people notice softer cuticles in a few days and less peeling in 2–3 weeks. Visible growth and stronger tips typically appear within 6–8 weeks. Nail growth is slow and steady—stick with your routine.
Q: Is nail oil safe with gel or acrylics? A: Yes. Apply around the cuticles and under the free edge, not on the nail plate before application. Oil keeps skin and natural nails hydrated between appointments, reducing tightness and lifting.