
How to Strengthen Nails After Dip: Expert Guide
On Sunday night, you finally soaked off the last of your dip powder. The cotton warmed under the foil, the acetone scent caught in your throat, and when the layers slipped away, your nails felt… exposed. A little bendy. A little tender. You press your thumb to your forefinger and feel the thinness you can’t quite see but definitely sense. The polish is gone, but the imprint of weeks of tapping keys, rinsing mugs, and tying hair bands remains.
You rinse, pat dry, and realize your nails look like the end of a long week. Tiny valleys where the buffer skimmed too close. A chalky cast from the soak. Your hands still look like yours, of course, but stripped of their armor. And there’s a flicker of worry: Will they ever feel strong again?
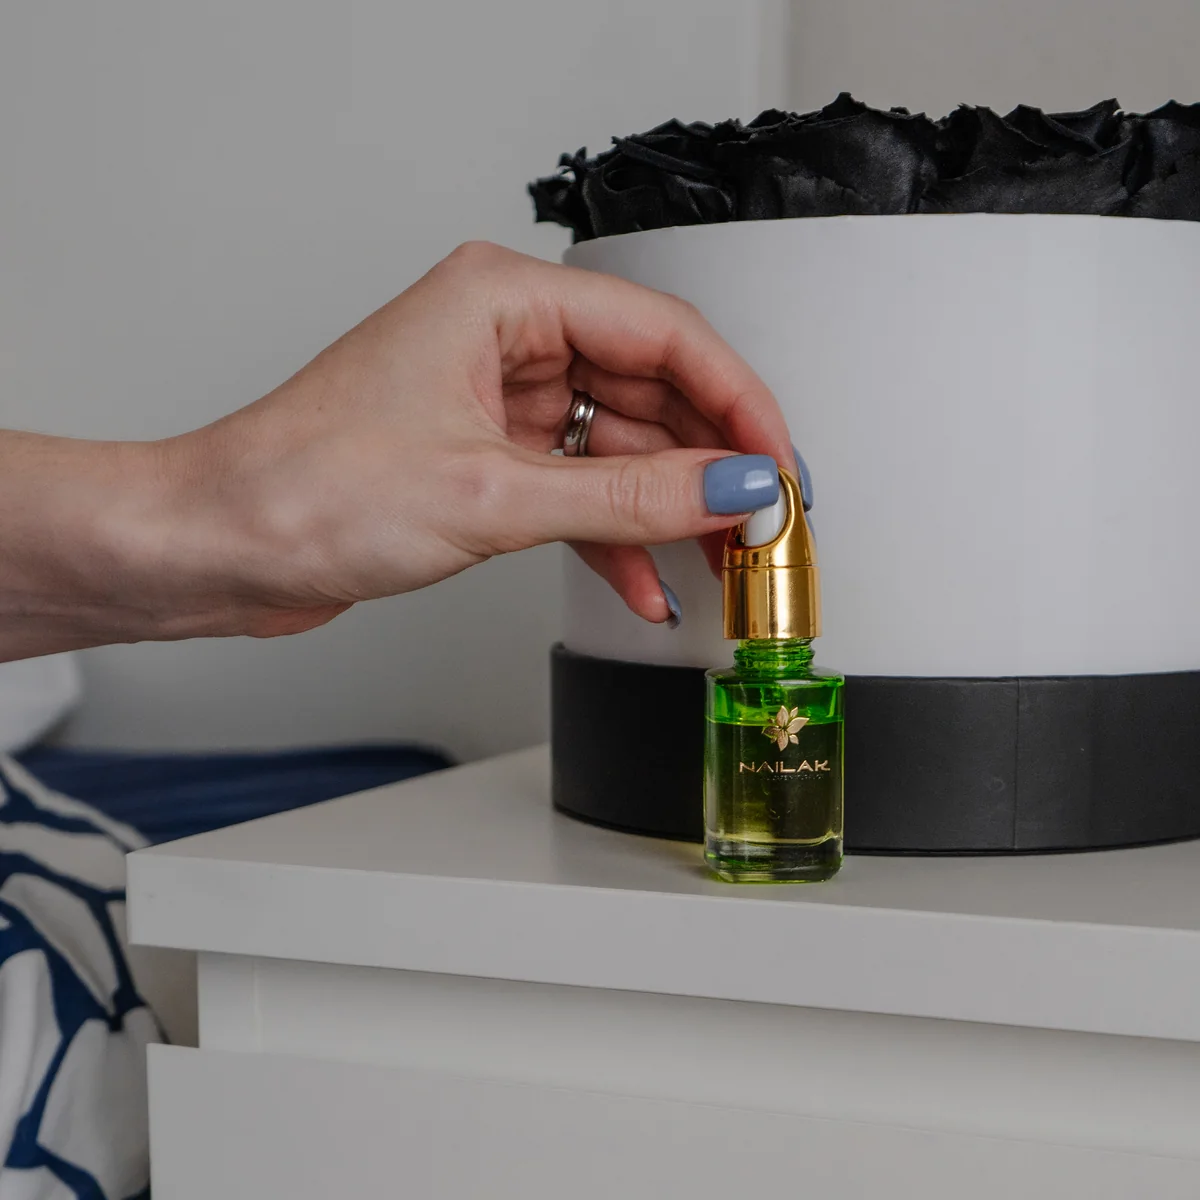
You turn the sink off and sit at the kitchen table with a small bottle of oil you bought months ago. A lamp pools a circle of light. The house is quiet except for the soft click of the cap and the faint citrus note, like hope in miniature. One drop per nail. You glide the brush around each cuticle and watch the surface come back to life. It’s almost immediate—how the dullness relaxes into a subtle sheen, how your shoulders drop, how this tiny ritual steadies your breath. Strength, you realize, sometimes starts with care so gentle it’s almost invisible.
Quick summary: To strengthen nails after dip, remove gently, rehydrate daily with oils and moisturizers, shape smartly, protect from stress, and feed growth with balanced habits and salon strategies.
Why Dip Leaves Nails Feeling Weak
Dip powder can look flawless and endure brilliantly, but the process can stress nails. Understanding why helps you repair them strategically.
- Adhesive stress: Dip manicures rely on cyanoacrylate-based glue. That tight bond is tough to dissolve and can peel away superficial nail cells when removed carelessly.
- Over-buffing: Prepping for dip often thins the surface to improve adhesion. Even a few extra swipes with a coarse buffer can remove more keratin than you think.
- Acetone soak: Acetone is efficient but dehydrating. It pulls out lipids and water from the nail plate, leaving it temporarily brittle and matte.
- Repetitive wear: Weeks of pressure—from typing, lifting, and tapping—plus the occasional knock can create micro-splits at the free edge.
Nails are layered keratin plates held together by natural oils and water. When they’re dried, thinned, or pried, the layers delaminate. That’s peeling, splitting, and that bendy feeling.
Here’s the promise: With thoughtful care over the next 2–4 weeks, you can restore flexibility, smoothness, and strength—without resorting to another hard coating.
First 72 Hours: Gentle Reset
If you’re fresh out of removal, start here. The goal is to restore hydration, seal the surface, and reduce mechanical stress.
Step 1: Clean removal (or damage control)
- If you haven’t removed the dip yet, avoid peeling. File only the topcoat, then soak with acetone on cotton, wrapped in foil, 10–15 minutes. Gentle push with a birchwood stick; re-soak if needed. Rushing causes gouges.
- Post-removal, rinse with lukewarm water and a mild, fragrance-free cleanser. No hot water.
Step 2: Rehydrate and seal
Use the “oil-then-occlude” method twice daily for three days.
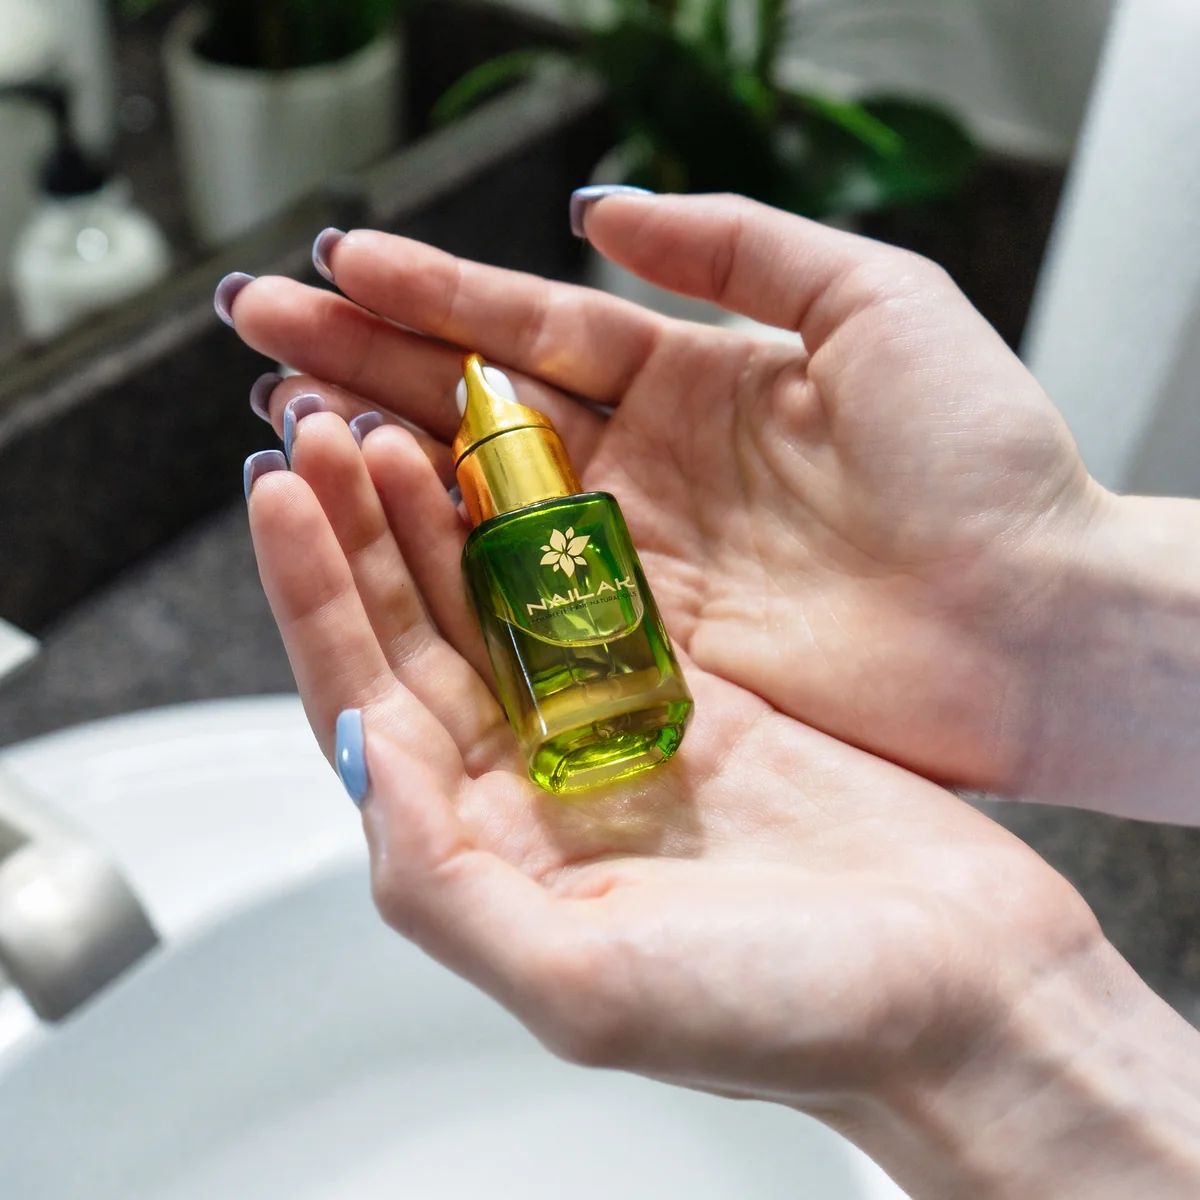
- Apply a penetrating oil (jojoba, squalane, or sweet almond) to nails and cuticles. Massage 30 seconds per nail.
- Follow with a richer layer—petrolatum balm, shea butter, or a ceramide hand cream—to lock it in.
- At night, slip on thin cotton gloves for one hour (or sleep in them if comfortable).
Why it works: Oils replenish lipids, improving flexibility. Occlusives slow water loss so your nail plate rebalances its moisture content.
Step 3: Short, safe length
- Trim or clip nails to a short, wearable length with rounded square or soft almond edges. Less leverage means fewer accidental bends.
- Use a fine-grit glass or crystal file. File in one direction only. Seal the free edge lightly to prevent layers from catching.
Step 4: Pause the polish
- Give your nails 72 hours of bare rest. No hardeners containing formaldehyde or strong resins yet—they can make dried nails more brittle at this stage.
- If snagging is a risk, use a breathable ridge-filling base coat formulated for recovery. Think of it as a soft, protective veil—not armor.
Daily Repair Routine (2–4 Weeks)
This is where small daily habits rebuild strength after dip. Consistency counts.
Morning: Hydrate, protect, repeat
- After washing hands, apply a lightweight hand cream with glycerin or hyaluronic acid, massaging it over nails and cuticles.
- Follow with a cuticle oil sweep. It’s a ten-second habit that pays off.
- Slip on gloves for dishwashing or cleaning. Water exposure swells and shrinks nails, worsening splits.
Midday: Micro-moment care
- Keep a mini oil pen or balm at your desk. Reapply after hand sanitizer; alcohol is drying.
- If a corner starts to lift, file it immediately with a gentle grit. Catching early prevents a bigger tear.
Night: Deeper repair
- Oil-then-occlude again (yes, it’s that good).
- Every second night, massage a nail treatment with panthenol, hydrolyzed keratin, or peptides. These bind lightly to the nail surface, improving smoothness and the feel of thickness over time.
- Consider a weekly “soak-and-seal”: Warm a teaspoon of jojoba oil between your palms, press into nails for two minutes, then top with balm.
Weekly rhythm
- Sunday: Refine shape with a glass file, apply ridge-filling base coat, two coats of regular polish if you want color, and a gentle, acetone-free top-up of oil to the cuticles.
- Wednesday: Take polish off with an acetone-free remover, refresh oil, and let nails breathe overnight.
- Friday: Optional color again. Keep cycles short, so nails get regular rest.
Consistency is your strength trainer. Expect noticeable improvements—less peeling, fewer snags, better sheen—in 10–14 days.
Smart Ingredients That Truly Help
Ingredient choices matter when you’re figuring out how to strengthen nails after dip. Look for:
Penetrating oils
- Jojoba oil: Similar to skin’s natural sebum; sinks in quickly and softens rigid, dry nail plates.
- Squalane: Lightweight and stable; excellent under creams without greasiness.
- Sweet almond or apricot kernel oils: Add emollience; great for massage.
Tip: Rotate oils if you like. The best one is the one you’ll actually use twice daily.
Humectants + occlusives
- Glycerin and hyaluronic acid: Draw water into the nail plate and surrounding skin.
- Petrolatum and shea butter: Seal hydration in. A pea-sized amount at night is plenty.
- Ceramides: Support the surrounding skin barrier, which keeps cuticles smooth and protective.
Strength-support actives
- Panthenol (pro-vitamin B5): Binds moisture, adds pliancy, and improves the feel of thickness.
- Hydrolyzed keratin and peptides: Adhere to the nail surface temporarily, enhancing smoothness and reducing snagging.
- Urea (5–10%): Hydrates and softens thickened cuticles; higher strengths can be too much for thin nails, so start low.
What about biotin? It can help in cases of brittle nails, particularly if there’s a deficiency, but it’s not a quick fix. If you try it, 2–3 months is a reasonable window to judge results. Check with your healthcare provider if you’re on medications or have conditions that affect biotin metabolism.
We’re seeing a broader beauty trend that echoes this approach: moisturize first, then address targeted needs. A recent roundup on face moisturizers emphasized how a good cream does more than soften—it supports the skin’s barrier to solve multiple issues over time. Nails benefit from the same logic: hydrate, then fortify with light, surface-binding proteins and protective films (source: https://thedermreview.com/face-moisturizers-test/).
What to skip (for now)
- Formaldehyde-based hardeners: They can create brittle, crack-prone nails, especially after acetone exposure.
- Strong acids or scrubs: Over-exfoliating thin nails worsens peeling.
- Frequent gel or dip reapplication: Give nails at least 2–4 weeks of TLC first.
File, Shape, and Protect
How you shape and handle your nails can make or break recovery—literally.
Choose a forgiving shape
- Soft square or rounded almond distributes force well.
- Avoid long, sharp points; they catch and lever layers apart.
Master the file
- Use a glass file for precision and a sealed edge.
- File in one direction with light pressure. Two or three passes beat 20 hasty swipes.
- “Cap the edge” by gently running the file at a 45-degree angle along the free edge to smooth layers together.
Polish wisely
- If you wear color, start with a ridge-filling base coat that contains nylon or silica. It acts like spackle for tiny grooves.
- Choose a non-acetone remover for midweek changes, then rehydrate right away.
- Reapply topcoat every other day to extend wear and reduce extra removal cycles.
Everyday protection
- Gloves for chores, yard work, and winter walks.
- Keep nails dry between washes; pat, don’t rub.
- Open cans with a tool, not your thumbnail. Your future self will applaud.
Nutrition, Habits, and Salon Strategy
Nail strength is grown, not just groomed. Support from the inside and smart choices at the salon accelerate your progress.
Eat for growth
- Protein: Nails are keratin. Aim for protein with each meal—eggs, fish, legumes, tofu.
- Micronutrients: Iron, zinc, and folate influence nail health. If you suspect deficiency, ask your provider for a simple blood test before supplementing.
- Healthy fats: Olive oil, avocado, and nuts support skin and nail moisture balance.
- Hydration: Steady water intake helps maintain nail flexibility; think one glass with each meal and snack.
Supplement sense
- Biotin: May improve brittle nails in some people over 2–3 months; results vary.
- Collagen peptides: Early research suggests potential benefits for nail growth and breakage; give it 8–12 weeks.
- Multivitamins: Consider only if your diet is restricted. More isn’t better; targeted, food-first is wise.
Habit check
- Limit long, hot showers and frequent hand washing without post-care. Follow with oil or cream every time.
- Avoid picking at skin or peeling polish; mechanical trauma slows recovery.
- Keep a file and oil in your bag. On-the-go maintenance prevents small snags from becoming splits.
Salon strategy (for your return)
- Ask for gentle prep. Minimal buffing, please.
- Request a soak-off with controlled timing, not scraping.
- Try a regular polish manicure first. If you go back to dip, plan rhythm breaks: three weeks on, one week off, with diligent oiling.
- Consider builder gel or structured manicures only once nails feel resilient. Communicate your recovery goals with your tech—they’re your ally.
Strength Is a Quiet Ritual
There’s a certain tenderness in tending to what carries you through the day. Your hands lift, type, cook, comfort, wave, and hold. When nails feel thin after dip, it’s easy to jump straight into masking the damage. But there’s another path—one that respects how the body repairs itself when given time, hydration, and protection.
A few drops of oil, the soft rasp of a glass file, a decision to wear gloves, a pause before prying a sticker up with your nail. These choices build a rhythm. And rhythm builds strength.
Let’s be honest: Life won’t slow down. But your ritual can. In two weeks, you’ll notice fewer snags. In four, a smoother surface and steady shine. The confidence you feel won’t come only from polish. It will come from the care you practiced, quietly, day after day—proof that strength grows best where gentleness leads.
Frequently Asked Questions (FAQ)
Q: How long does it take to strengthen nails after dip? A: Most people notice improvement in 10–14 days with consistent oiling and protection. For fully robust nails, plan on 4–6 weeks, which allows new, healthier growth to reach the free edge.
Q: What’s the best oil to use on nails after dip removal? A: Jojoba oil is a standout because it penetrates well and mimics natural sebum. Squalane and sweet almond oil are excellent, too. Use what feels good and reapply twice daily.
Q: Can I use a nail hardener to speed things up? A: Skip formaldehyde-based hardeners during recovery—they can make dry nails brittle. Choose a ridge-filling base coat or a treatment with panthenol or hydrolyzed keratin instead.
Q: Is biotin necessary for strengthening nails after dip? A: Not always. Biotin can help brittle nails in some cases, especially if there’s a deficiency, but it isn’t a guaranteed fix. Try it for 2–3 months if you and your provider agree it’s appropriate.
Q: When is it safe to get gel or dip again? A: Wait at least 2–4 weeks of consistent care. Return only when nails feel less bendy, edges don’t peel, and the surface looks smoother. Start with gentle prep and plan regular rest periods.
Estimated word count: 1,970 words